Brush Latex for mould making
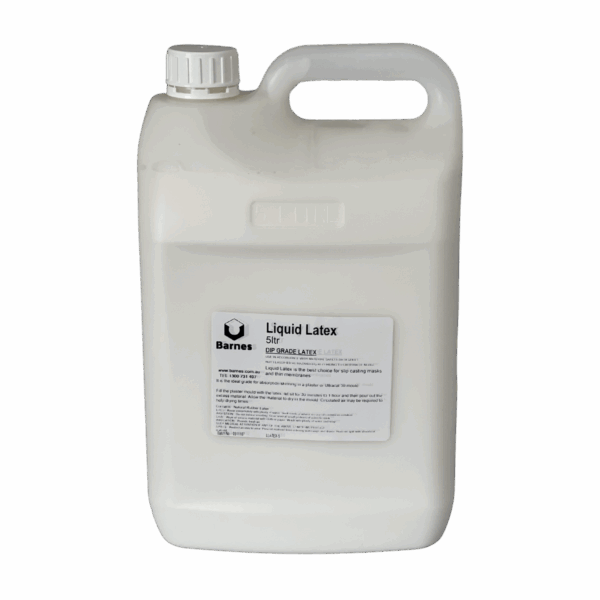
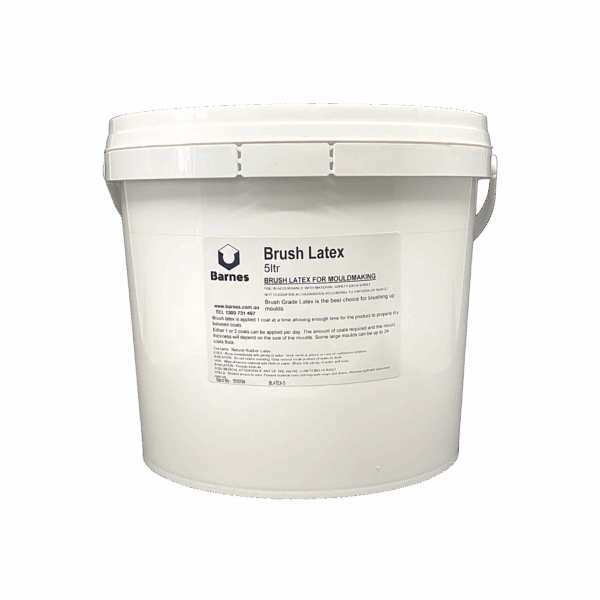
Brush Latex is a moulding compound based on pre-vulcanised natural rubber latex. Pre-vulcanised latex is recommended for mould production as it only requires drying to give a strong elastic film. The high solids content and higher viscosity properties are suited to brush application with less occurrence of runs and sags. For dipping or spray applications we suggest our Liquid Latex. Brush latex films, characteristically exhibit low shrinkage rates and fast drying times. Intricate models can be reproduced in exact detail and moulding latex will not separate on standing.
Moulding Production
Brush Latex may be used to make moulds from masters (originals) made from various materials such as plaster, clay, glass and concrete. Plaster or clay masters should be coated with 2 – 3 applications of shellac or lacquer and thoroughly dried before applying latex. Ensure the masters are clean, dry and free of grease or oil. Except for plaster models, masters may be washed in a solution of dishwashing liquid and water and dried before latex application.
Fasten the master to a firm non-porous substrate so that the entire piece can be moved without handling the coated areas. Brushes used to apply moulding latex should be rinsed in a solution of soap and water both before and after use. This aids cleaning of the applicators and prolongs their use. When applying Brush Latex, care must be taken to eliminate all air bubbles in the first coat. This will ensure that the detail is accurately reproduced.
If a thinner viscosity is required for the first coat, the Brush Latex may be diluted with a small amount of Liquid Latex or distilled water. Brush from the top of the model to the bottom and continue out from the base to a distance of at least 4cm on the supporting substrate (flange area). Apply every coat of latex to this flange area, not just the first. When dry the excess film provides a useful handle in casting operations.
The first coat should be dried at room temperature (23 – 25 deg C) in order to minimise lifting from the master. Once the first coat is completely dry to touch subsequent coats may be applied. Drying between coats may be carried out at room temperature. To speed up the process the drying temperature can be increased up to a maximum of 50 deg C. If no heat is available, directing air flow across the surface of the model at room temperature will speed the drying.
Note. Do not use excessive heat as this may:
• Promote shrinkage
• Cause cracking
• Trap moisture in the film
• Lead to low tensile strength
• Cause delamination between layers
For models with a relatively large surface area, the following application may be considered. Apply the first coat of latex as described. When this is dry follow with a layer in a checkerboard pattern. Once the checkerboard application dries follow with an entire coating. Continue alternating between the full coat and the checkerboard coat until desired thickness is achieved. This technique helps to reduce the tendency to shrink and keeps the dimensions of the finished mould very close to those of the original. Reinforcement of the latex may be achieved by applying strips of cheesecloth, scrim or a similar open weave cotton fabric to the mould after four applications have been made.
Another feature of Brush Latex is to use it in conjunction with resin pours to minimize sanding the resin drips. Brush 3-4 coats on to the underside of your artwork, coasters, pendants, etc. and allow to fully dry. Ensure the latex has a sufficient thickness at the edges. Once dry, pour your resin coating product over your work and allow to fully cure. Once the resin has cured, you can gently make a slit into the latex, then start to peel it off. The resin drips along the edges should start to pop off, giving you a flat surface and no sanding required.
Please read the TDS under the Technical Documents section for more information.

